-April Rhodes
This is a fun little crossover collaboration between myself, April Rhodes and Cubshrub.
First, whether you’ve ended up on this post via Cubshrub or through my fabric blog tour let me introduce myself and explain what I’m doing here. . .
Hi! I’m April. I’m a fabric designer and maker of lots of things. I am based in Columbus, Ohio and I love my hometown but I have a huge heart for traveling (and camping). I have two daughters, Camilla 6 and Aelyn 9, who also love to camp and explore. I would describe us as a make-it-yourself type of family with a modern, playful, somewhat southwestern aesthetic, hence the project I am here to share with you today.
I’m currently celebrating the release of my two newest fabric collections, Arizona After and Heritage fabrics and I’m also excited to start guest posting here on the Cubshrub blog from time to time. Cubshurb is an amazing little shop in Columbus, Ohio, owned by my friends Niki and Josh Quinn. They’ve recently started this blog with the goal of inspiring families to enjoy life, be creative and live playfully. I love doing all of those things so I'm certain we’re going to make a great team, and this DIY play tent featuring my Arid Horizon Sun canvas fabric from Arizona After fits that bill pretty perfectly too!
Now that you know who I am and what I’m doing here, it’s time for the fun part - tent making! I think this is a wonderful summertime project to entertain the little people in your life. Once I had all of my supplies gathered I was able to make the tent in just about an hour, so if your kids still nap, you’re lucky and I’m super jealous, but that fact aside, you could easily make one of these while they're sleeping and have a fun surprise when they wake! It’s especially lovely for our little family since, though we may want to, we can’t afford to travel all summer long . . . welcome to staycation mode kiddos!
I'm going to show you how to make this super easy, collapsible, indoor/outdoor play tent!

Gather your supplies!
For one tent you will need:
2 5/8 yards (94”) by 44” of canvas fabric
Four 1” x 2” x 48” boards - a medium hard wood such as aspen pine works well. Aspen wood is smooth and soft, but fairly strong with low flammability.
Three 3/4” x 48” wooden dowels
One 5/16” x 24” wooden dowel
A 3/4” spade drill bit or hole saw
A 5/16” drill bit
A drill
Also, a pencil, tape measure, utility knife, and a carpenter's square (optional but helpful).
Side-note: You’ll notice from the photo of my supplies that I edited the design a bit as I was constructing. You can ignore the glue in that photo, I had planned to use it to secure some of the dowels so they wouldn’t slip out from the side braces but I still wanted the tent to be easy to store while not collapsing on the children as they crawl in and out. I eventually came up with the peg idea and it was a success! The pegs add a detail that I haven't seen on any other DIY play tents. With this method there’s no glue mess and the whole tent can come apart when not in use or if you want to launder or change out the fabric cover.

Here’s how it's made:
BUILDING THE TENT FRAME
Take one 1”x2” board and mark 2” down from the top and 2” up from the bottom, on center.

Line up your marked board with another 1”x2” board and clamp them to a sturdy work surface. Drill holes, on center with your ¾” spade bit or hole saw, through both boards.

Using one of your first boards as a jig or template, clamp and cut the two remaining 1x2s.

I’ll refer to these boards as the side braces, two inner braces and two outer braces. All four boards should have a ¾” hole on each end.
Next, mark 1” in from both ends of a ¾” dowel. Drill a hole on center of each marking with your 5/16” bit. Repeat once more with another ¾” dowel.

One of these dowels will be the top of your tent and the other will be the bottom side dowel that attaches to the outer braces.
On the last dowel mark 1¾” in from either end and drill again with your 5/16” bit. This will be the bottom side that attaches to the two inner braces.
Next, slip one of your ¾” dowels through the end of one board and then insert your 5/16” dowel into the hole you drilled in the last step, as pictured. Mark the 5/16” dowel where it sticks out past the side brace just a smidgen.

Using a utility knife, score the dowel where you’ve marked and use the edge of your work surface to snap off the length you need. Clean up the edge of the broken peg and use this length to mark and cut 5 more pegs of the same length.

Now you’re ready to put it all together! It helps to have a second set of hands at this point but you can probably manage without.
To assemble, slide your top dowel through all four side braces, pushing two braces to the front end of your dowel and two to the back, insert pegs at either end. The side braces that are closest to your pegs are your outside braces.
Drape your canvas fabric over this top bar (it helps to have someone steady the whole thing upright) and then slide your first side bottom dowel (with holes 1” from the ends) through one outer side brace, through canvas sleeve and out the opposite outside brace. Insert pegs in either side.
Repeat this with your last side dowel, through one inner brace, tent sleeve and out the opposite inner side brace.
Time to set up camp!!!!


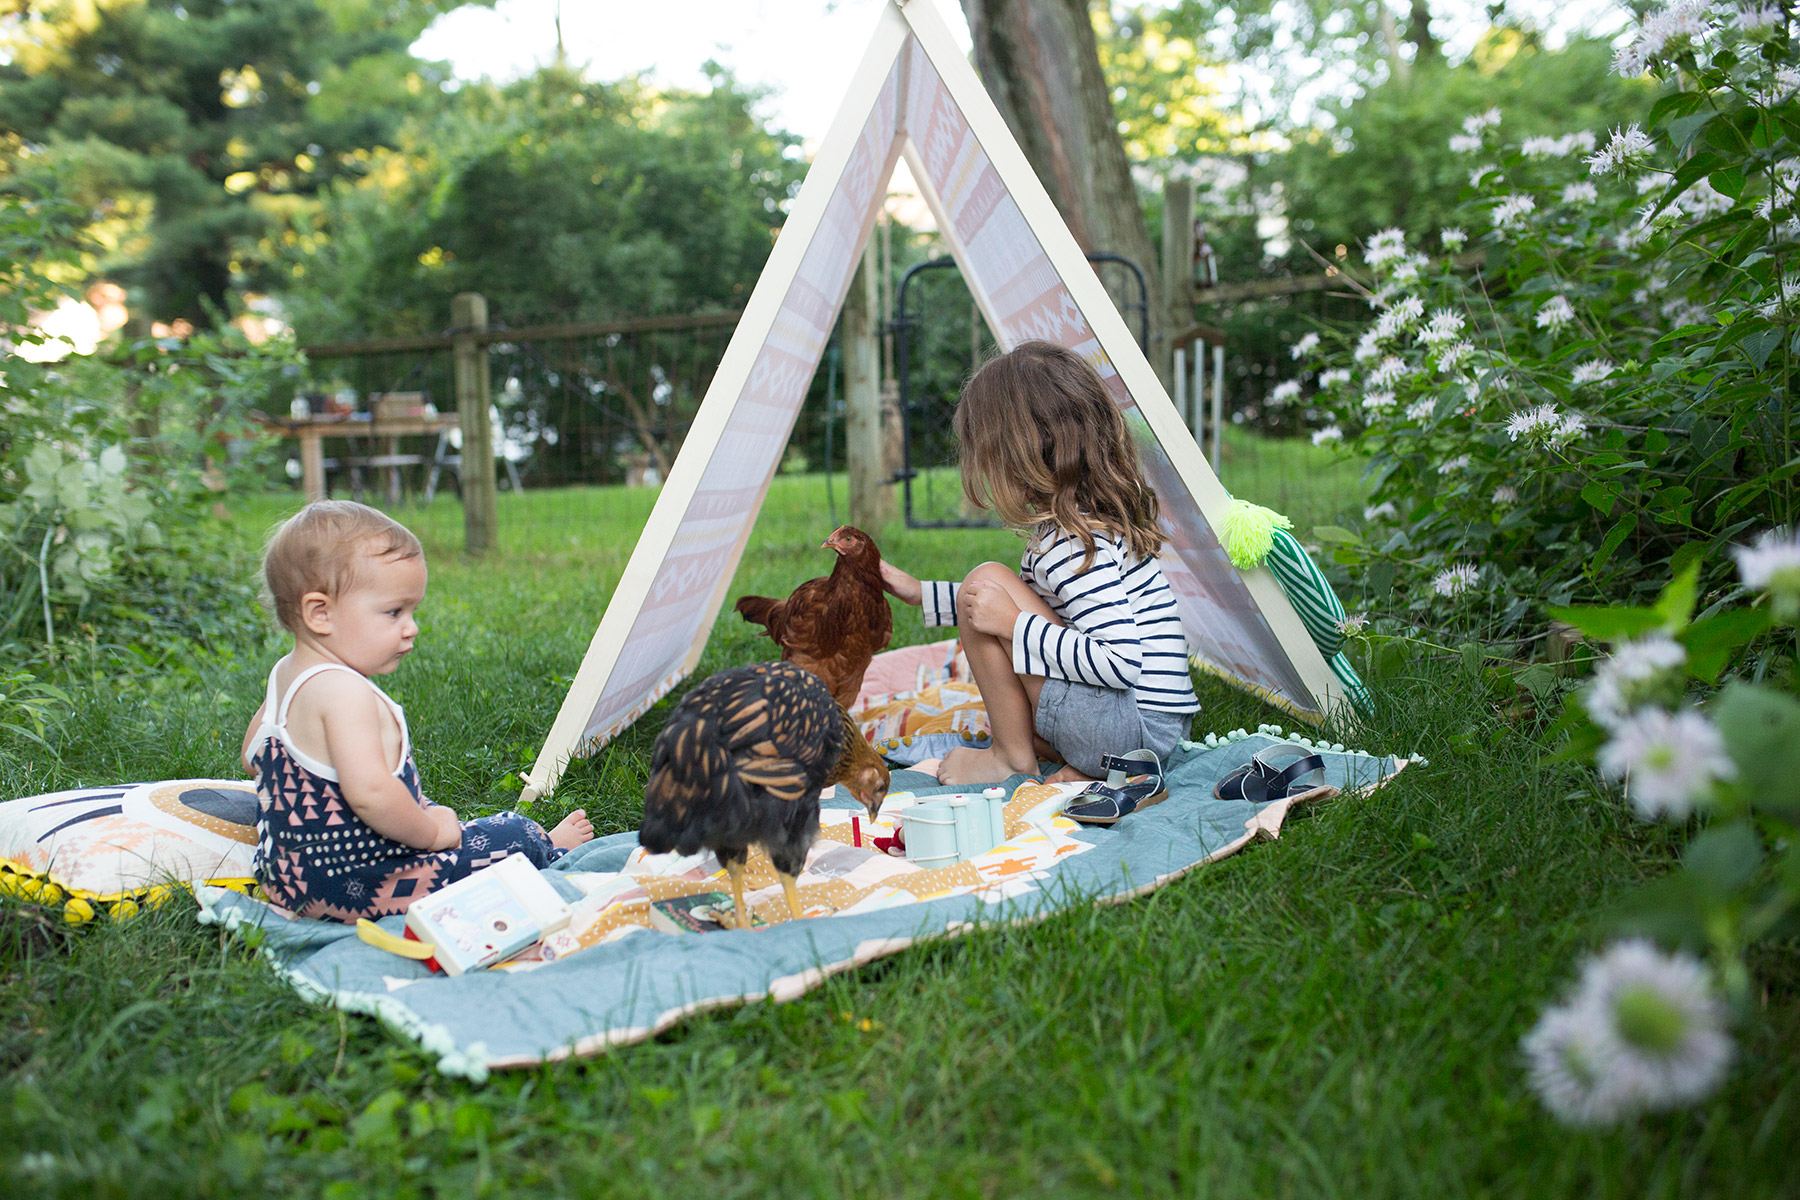 This tent is perfect for outdoor and indoor play but will slip on hardwood so be sure to set it up on carpet or a rug, or even throw a blanket underneath to keep the side braces from sliding out and the whole thing falling down on your child’s head. We don't want that!!
Even though the whole thing comes apart, you don't have to take it down to store it or move it. Its light weight and swinging sides mean you can simply grab it by the top bar, pick it up and move it, stow it away in a closet or behind the couch or move it out of the living room into the yard.. or wherever you want camp to be!
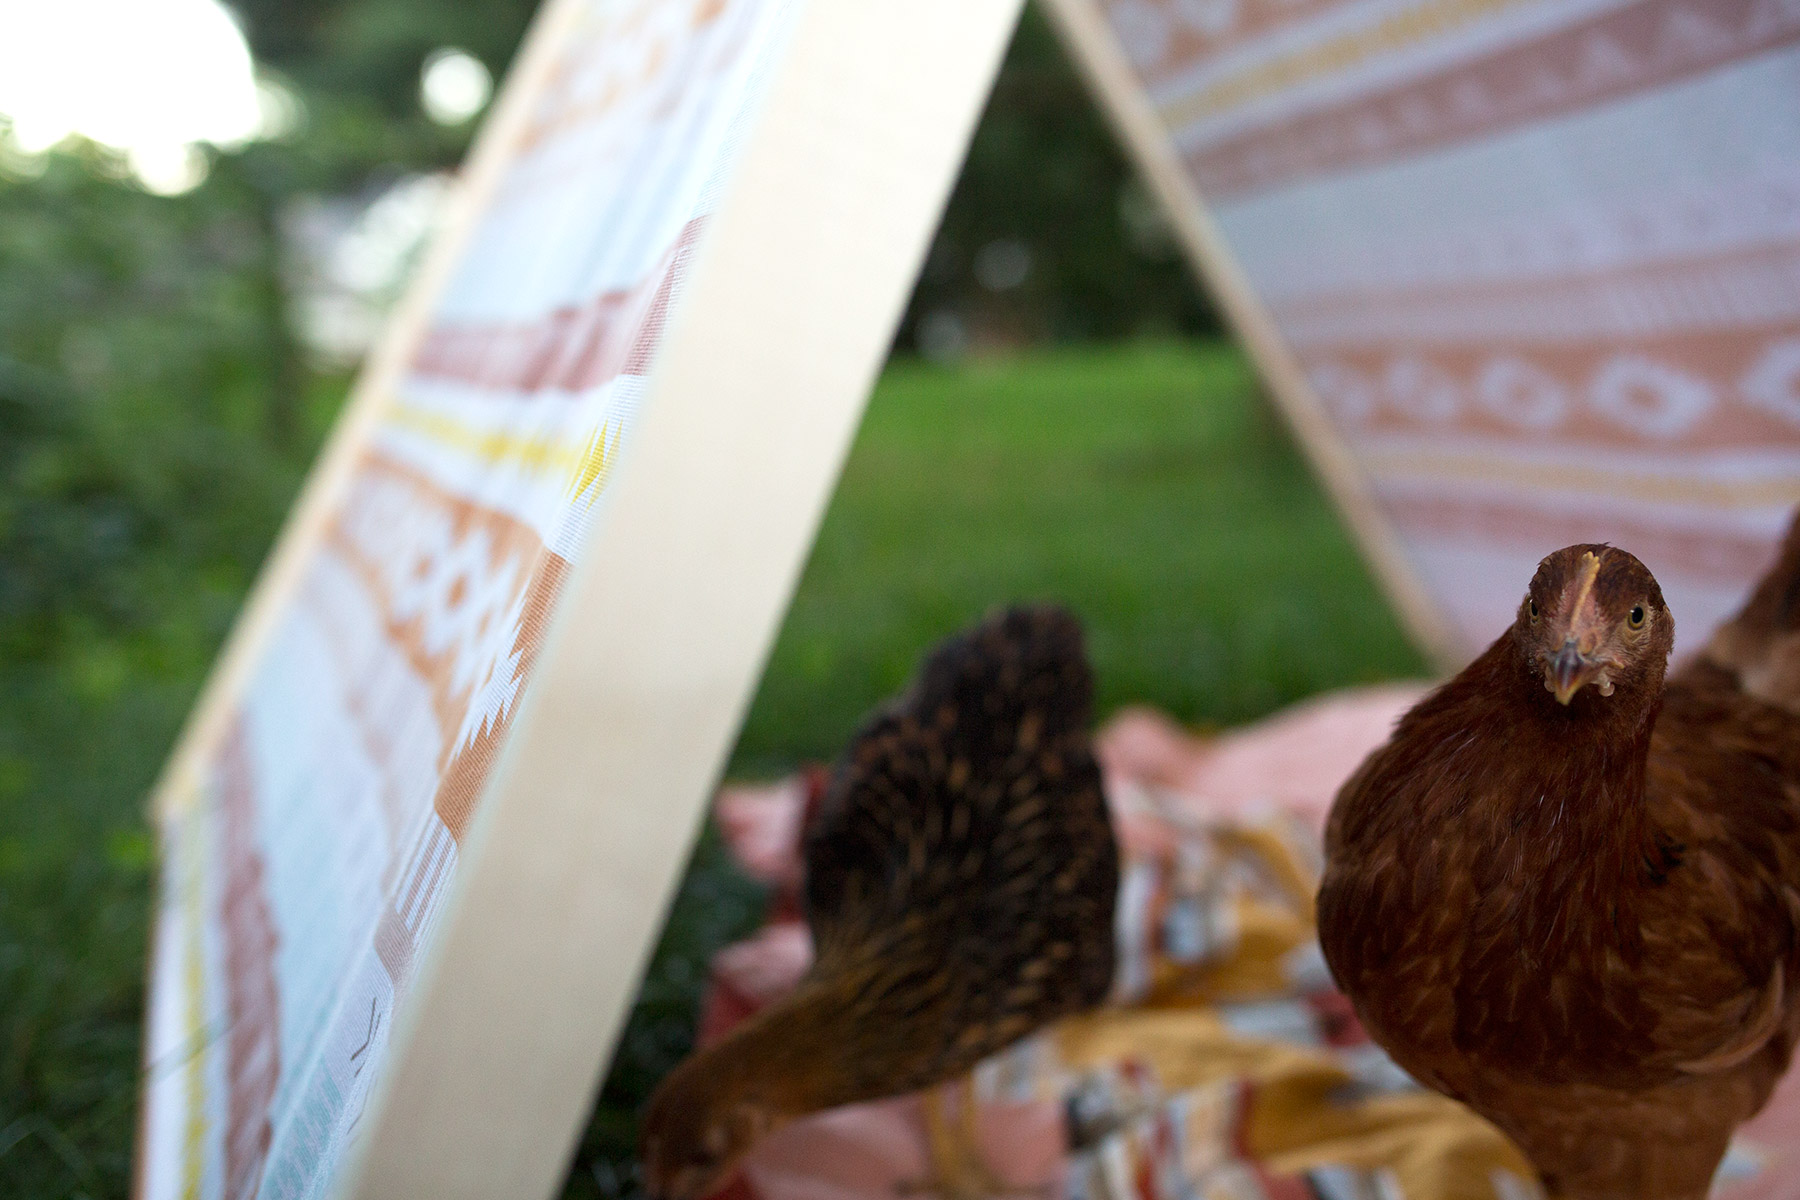
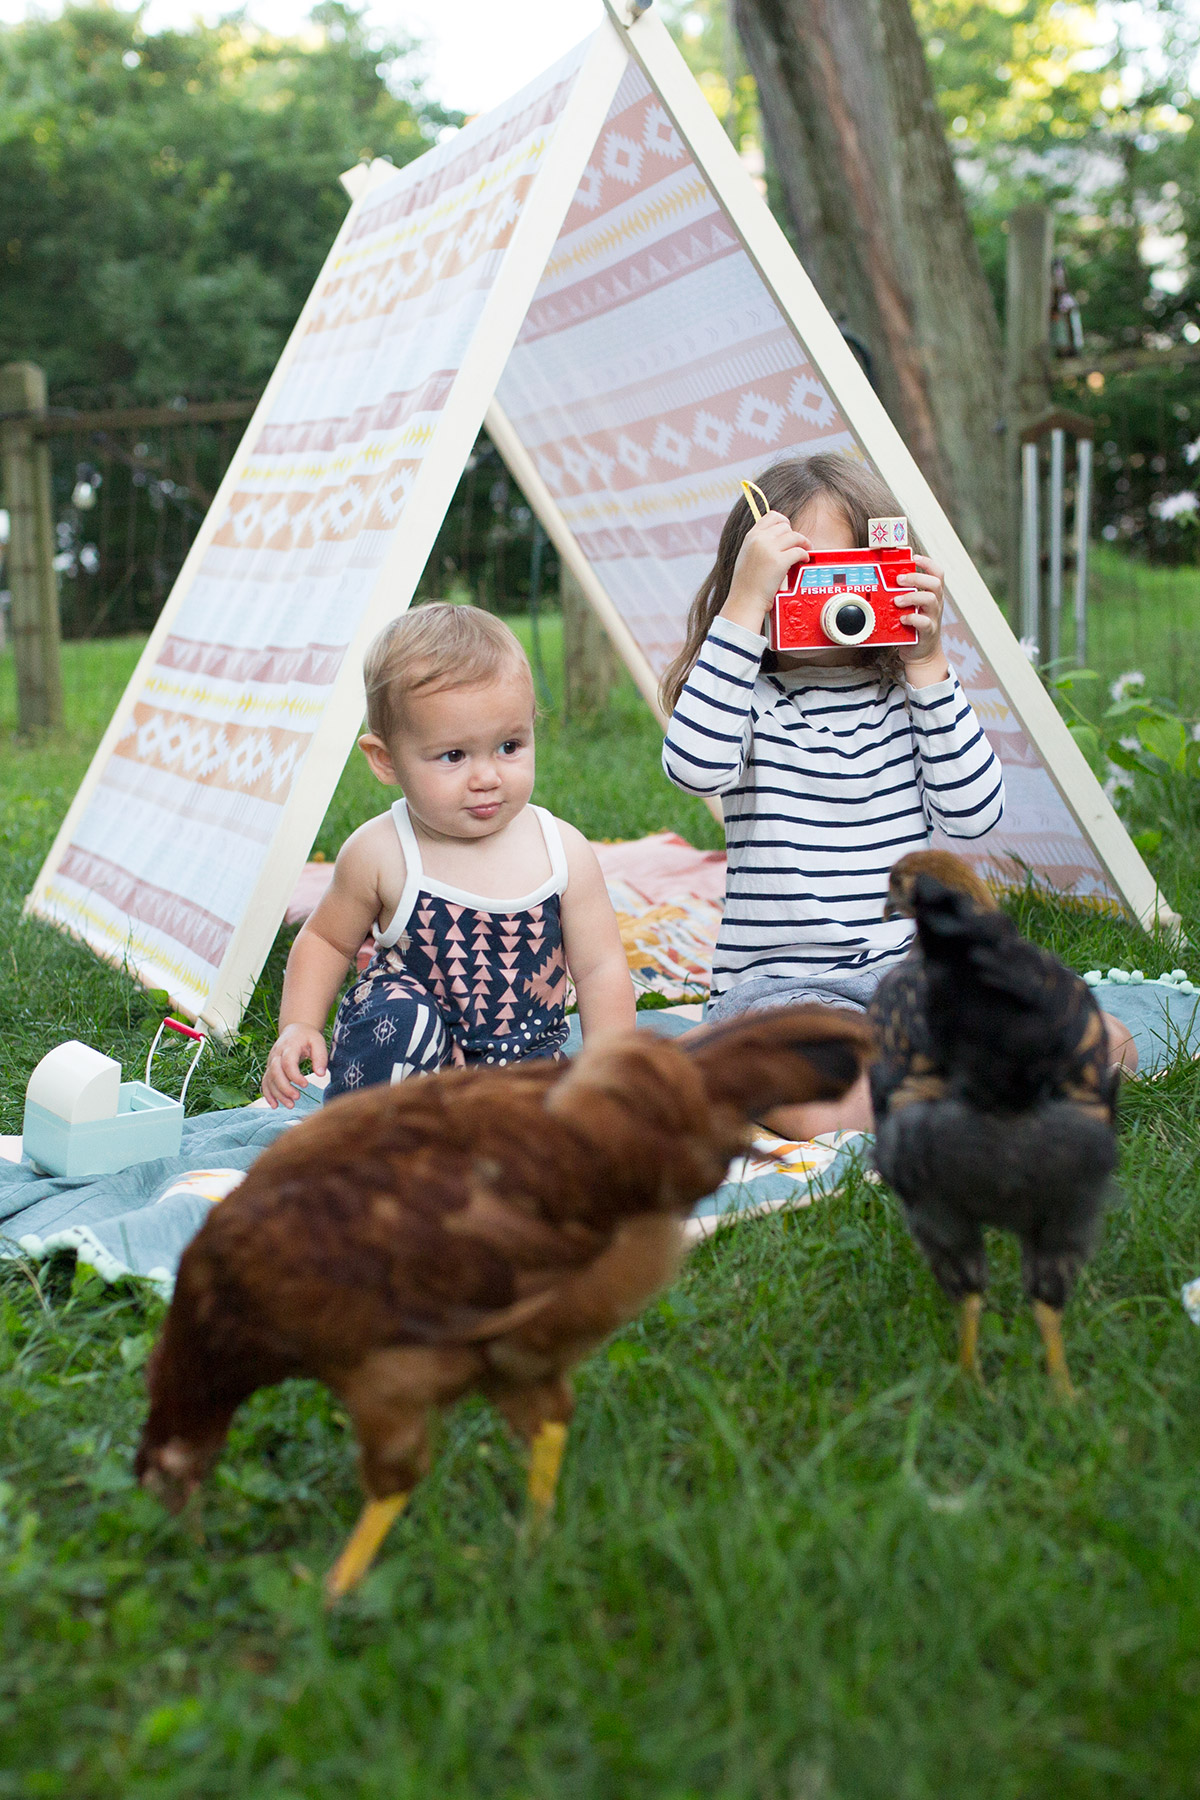
We had fun setting up in my friend Suzanne’s backyard. . . and I think her chickens enjoyed the tent almost as much as the kids did!
Thanks for reading along! I hope you and you're littles get a chance to make and play with a tent of your own. If you enjoyed this project or the fabrics you see here, please hop over to my Instagram feed to visit me and see lots more inspiring fabric related projects.
xo April Rhodes
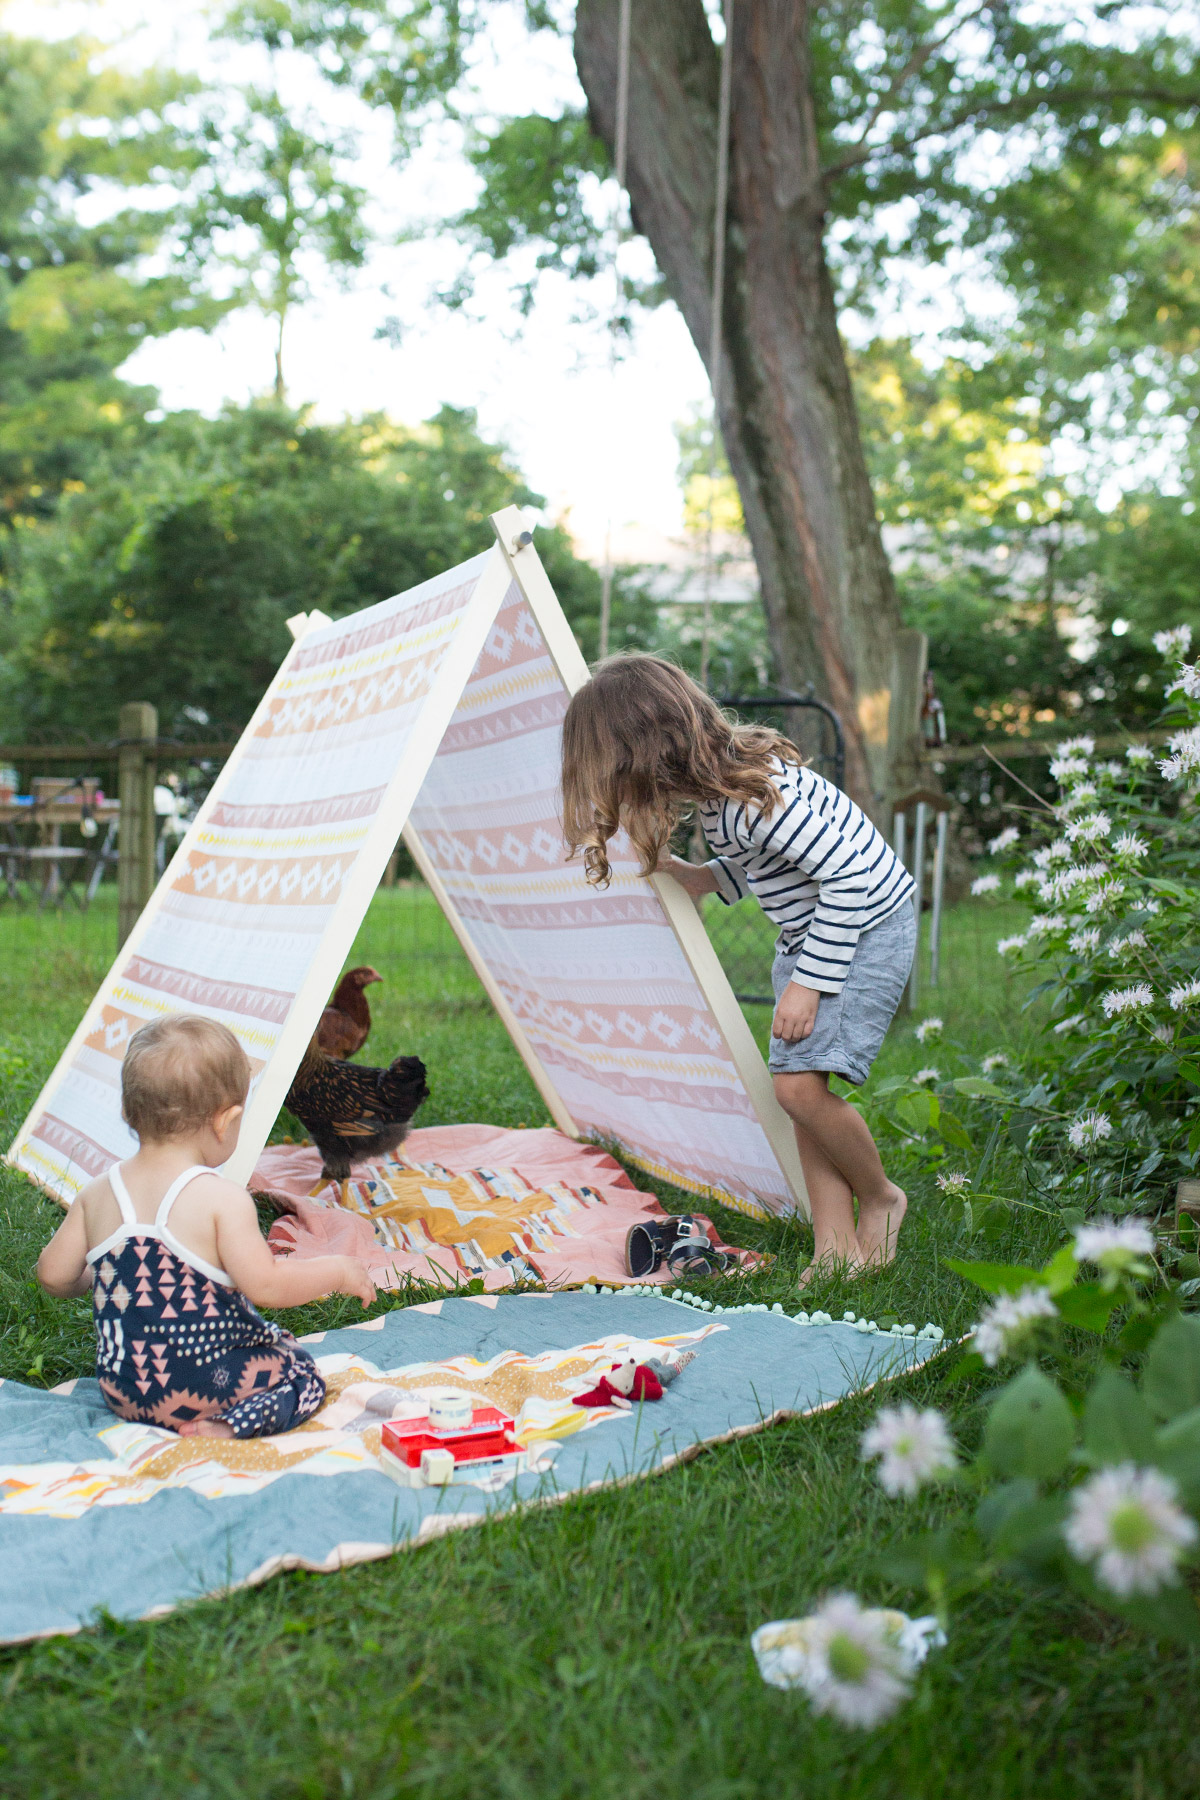
All backyard photography and chicken raising credit goes to Suzanne Gipson. Many thanks to you dear friend!

